Shed Felt
-
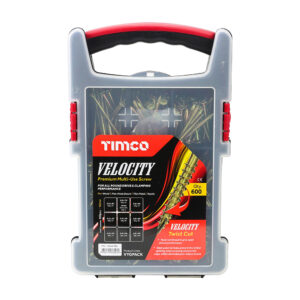
Timco Velocity Premium Multi-Use Screws – Mixed Tray
£23.99 Incl VAT £19.99 Excl VAT Add to basket -
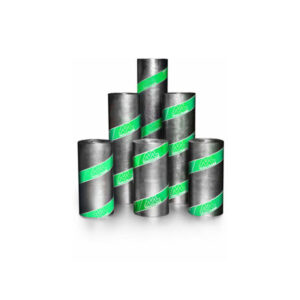
Code 3 Cast Lead – 914mm x 3m
£117.10 Incl VAT £97.58 Excl VAT Add to basket -
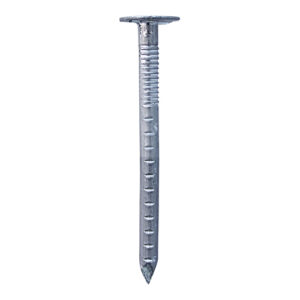
Bulk Pallet 50 Packs of Aluminium Clout Nails, 50 x 3.35 – 10KG (500kg)
£4,800.99 Incl VAT £4,000.83 Excl VAT Add to basket -
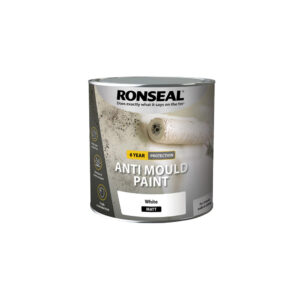
Ronseal 6 Year Anti Mould Paint – White Matt 2.5L
£31.99 Incl VAT £26.66 Excl VAT Add to basket -
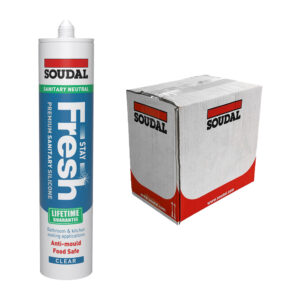
Soudal Neutral Stay Fresh Sanitary Silicone Sealant – Clear 300ml (Box of 12)
£69.96 Incl VAT £58.30 Excl VAT Add to basket
Frequently Asked Questions (3)
Shed Felt
We stock a great range of shed felt and roof felt perfect for your home DIY project. If you need any advice on how to felt a shed roof or the amount of felt you may need, then give us a shout or read one of our guides. Browse through our range of cost-effective, easily applied shed felt.
Replacing Shed Felt
If you need to replace your shed felt due to leaking or a simple cosmetic tear, ERoofing will have the perfect choice for you. From Chesterfelt to Icopal, we stock various suppliers that hold high-quality shed felt fit your shed or garden bar. The shed felt we stock can be felted with nails or appropriate adhesive. If you’re unsure of what you need, make sure to get in touch with us to talk about replacing or repairing your shed roof.
Alternatives to Shed Felt
If you’re not looking to use shed felt or have some reservations, you can always try out EPDM membranes. They are gradually a safe potential alternative for small garden buildings.
Installing & Laying Shed Felt
To get started, make sure to delicately terminate any existing timber fascia boards applied to the front, back and flanks of your shed. Being careful is critical as you don’t want to cause any damage. Next, use a solid hammer to remove the nails holding down the old felt roof, then strip the old felt. Make sure the surface is free and dry. If you notice any nails sticking out or missing, please replace them promptly.
You will need enough felt to cover the entire roof area with a bit of extra on each edge, around 2 inches, as this allows for overlaps.
You will need to cut three pieces of felt. Two pieces for each side of the pitched roof, and a third piece that will overlay the two side sections on each side and run along the top ridge of the shed. Apply the cut felt to either side of the roof, stretching it tight so that it lies flat before nailing it at around 10cm intervals along the length of the roof, just below the apex. Following, you can hammer in the nails along the bottom edge of the roof at wider intervals, around one every 30cm.
Once you’ve secured the side panels in place, add the top section to the ridge and fix it using high performance felt adhesive applied with a paintbrush, then hammer it at the lower edge at 5cm intervals.
Tidy up the overlap at each edge by folding it down and nailing it securely. Next, use your craft knife to cut a slit in the felt overhang at the apex of the roof, then fold the felt down there and nail securely at 10cm intervals along the roof. Use wood nails to fasten them in place and your craft knife to trim away any excess material.

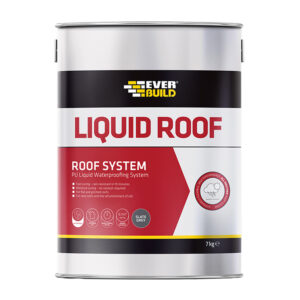 Everbuild Aquaseal Liquid Roof – Slate Grey 7kg
 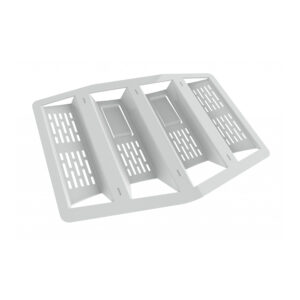 Timloc Underlay Felt Lap Vent (Pack of 10)
 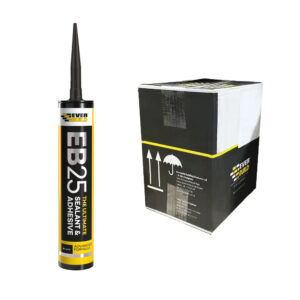 Everbuild EB25 Ultimate Sealant & Adhesive – Black 300ml (Box of 12)
 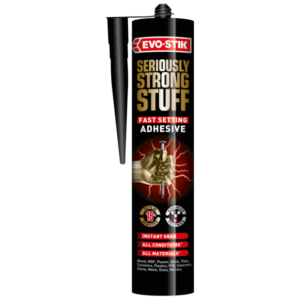 Evo-Stik Seriously Strong Stuff Fast Setting Adhesive, White - 290ml
 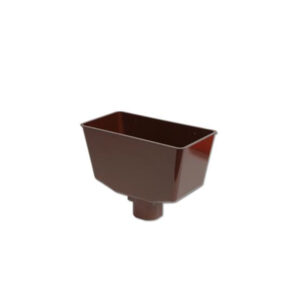 FloPlast Universal Hopper, Brown – 65-68mm
  Code 4 Cast Lead - 1600mm x 6m
  Freeflow 68mm Round Down Pipe Shoe - White
 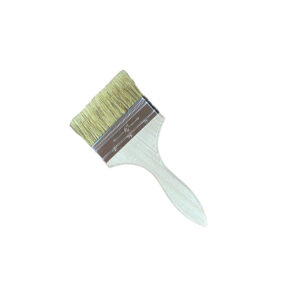 Standard Brush 4-Inch