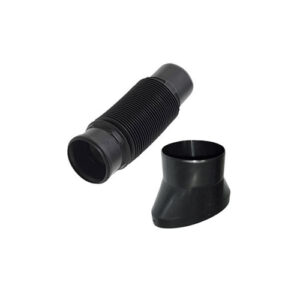
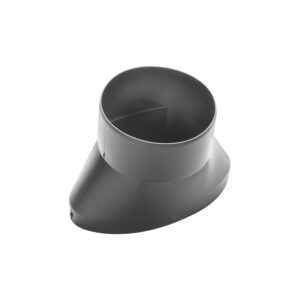
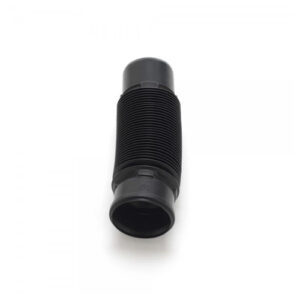
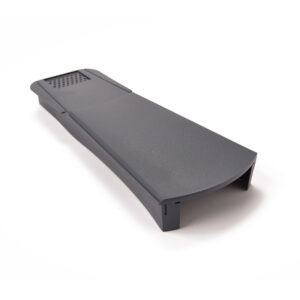
The Thin Line Tile Vent is perfect for installation into interlocking roof tile profiles, with exceptional airflow properties offering up to 10,000mm². It's ideal for combating moisture and condensation building up, alongside attaching to mechanical or soil extraction systems. It's vital to ensure that your attic is ventilated; otherwise, it'll suffer from dampness and, inevitably, further issues.
The installation of this product is effortless for experienced roofers, with it sliding in seamlessly and clipping it. Once installed, it's virtually impossible to see highlighting the sleek design that Klober achieved. Forged from PVCu, it's a naturally lightweight material ideal for transporting alongside coated with Acrylonitrile styrene acrylate (ASA). This excellent UV-resisting coating retains the colour of the tile vent.
Installing Klober Thin Line Tile Vent
To install the tile vent correctly, place the thin line tile vent over the existing tile you want to replace and mark a rectangle of 120 x 180mm wide. Cut into the underlay from opposing corners and fold back the four tabs upwards, ensuring the top tab is secured to the batten above. Place the Thin Line tile vent into position and securely clip it using the fixing clips underneath the left side.

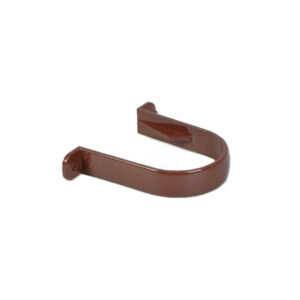 FloPlast Round Line Downpipe Clip, Brown
  OX Trade Claw Hammer - 20 oz
  Everbuild PVCu Solvent Cleaner – 1 Litre


