
Lead is a very versatile metal. It is incredibly ductile and waterproof, which made it popular among Romans for plumbing. So popular, in fact, that the Latin word for lead actually is plumbum. While greater awareness of the toxic nature of lead has made it obsolete in this and many other uses, it still has one major domestic application – lead flashing on roofs.
It almost goes without saying, and yet must be said first of all – lead is dangerous. Wear all appropriate safety gear, follow all applicable safety rules, and don’t chew your fingernails afterward.
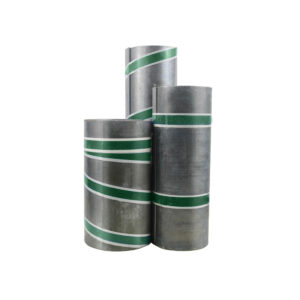
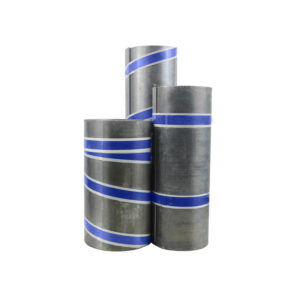
You should also familiarise yourself with the lead codes. You should never work with an inappropriate code of lead for your project. Either a project will lack the proper protection or it will cost more and be heavier than it needs to.
You will need
- Angle grinder or mortar raking desk
- A tape measure
- Safety gear
- Lead sheeting of the appropriate code
- A lead knife
- Lead dressing tools – a setting in stick, bossing stick, lead dresser and bending stick
- Bossing mallet (especially useful for the heavier sheets of lead)
- Chase wedge
Measuring and Cuts
Before making any cuts it’s important to make accurate measurements. Remember to leave between 150mm and 200mm for overlaps at the joins. You should also leave 150mm for the “drop” – the distance the lead goes up a wall.
You also need to leave spare length for the “chase” – the gap in the brickwork that the lead will be flashed into. Before measuring this, the mortar needs to be ground out to have at least 25mm of space for lead. However, if you are working near lintels or with old brickwork you might want to only cut 20mm. You can do this with an angle grinder or a mortar raking desk. Remember to wear goggles and gloves during this. The mortar should be cut roughly 150mm up.
There are two kinds of flashing – cover flashing and step flashing. The difference is that in step flashing makes a step pattern with the lead. Cover flashing is used when the join is horizontal, step flashing when it is diagonal, such as at an abutment or the side of a chimney on a pitched roof.
When using the lead knife, it’s best to cut the lead into lengths of 1.5m, to prevent it from being too unwieldy to install properly and minimise the chance of splitting. If you don’t want to use lead hall clips, make sure to save the lead scraps left over from cuts. It will be useful later on.
Dressing the Lead
The different lead dressing tools will now be used. Before installation begins in earnest you can use the lead dresser to smooth out the lead sheet you’re using. This will provide a nice surface to work with.
After this you need to start shaping the lead into place. First the lead should be dressed over the join using dressing tools. The bossing and bending sticks can be used to shape it around corners, while the setting-in stick can be used to shape it into angles.
Then the lead can be moulded into the chase. This is done using a chasing wedge and mallet to force the lead into the chase. After this, hall clips – or scraps of lead left over from the cutting process – can be wedged into the lead to hold it in place.
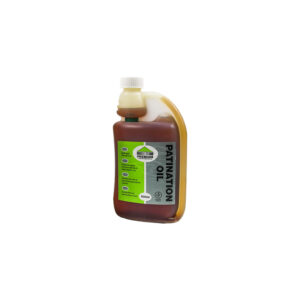
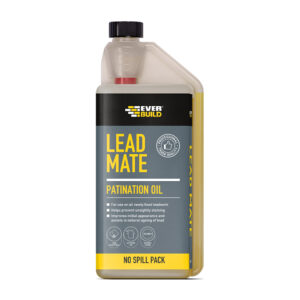
Finally, the last task is to apply patination oil. Once that’s been done you’ll have finally completed your flashing project.


