
Felt shingles are a popular choice for roofing sheds and other small outbuildings. They are made of shed felt, making them convenient and easy to install. However, they also have designs that give them a fresh look. This article will explain how to install felt shingles on a roof.
If your roof is high enough to need a ladder to access it, and you are not comfortable working on a ladder and/or a roof, you are best off hiring trusted professionals to carry out this project for you.
You will need:
- Safety gloves and safety goggles
- Utility Knife
- Claw Hammer
- Clout Nails
- Tape Measure
- Shingles, enough to cover the entire roof properly, with extra as a margin for error (see below)
- Adhesive and disposable brushes (optional)
- Ladder (depending on the height of the roof)
Discovering how many shingles you need
Before you do anything you should make sure that you have measured the needs of your roof. You will need to take into account a few things as well – firstly, there needs to be an overhang of at least 35mm at the eaves of the roof.
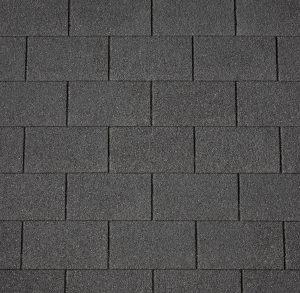
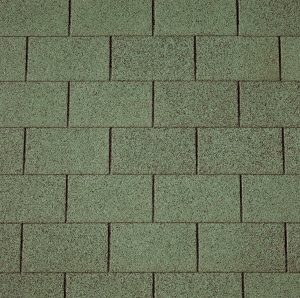
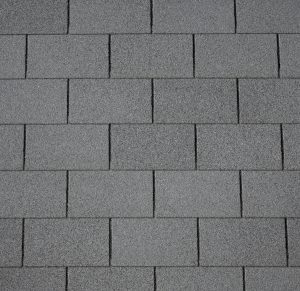
Secondly, all roof shingles are made of a tile section and a base section. The base section is what is attached to the roof, while the tile section overhangs the base section of the shingle strip directly below it, usually made up of three or four tile pieces. This means that each shingle only actually covers half the vertical space that they actually take up.
In addition, shingles should be installed so that they form a brickwork pattern. This arrangement is called half bonded or broken bond. This is done by cutting the first strip to be installed on a layer halfway across the first tile. The result is that every subsequent part of that layer will be halfway out of sync with the layer below.
The layer above it should be installed normally, then the layer above that installed with the cut section. The cutoff-sections should be kept since if the cut is precise enough they can be used at the end of those layers to finish off where a gap has been created.
Finally, you will need a ridge section. This can be made by cutting shingle strips into pieces for each “tile” and arranging them so that each tile overlaps its share of the base.
Installing the Shingles
Firstly you should install the bottom layer of strips, making sure it overhangs by 35mm. Use clout nails just above the gap between every tile, so that they will be covered by the tiles from the strip above. Make sure that the nails are driven in flush, no more and no less. Then you should begin working your way up, cutting the first tile of the first strip halfway through as mentioned above.
Once you get to the top and there is not enough room for another layer of strips, you can begin working on the ridge. Cut the strips at the edge of each tile, right through the base. Then bend each one over the ridge and nail them into the top layer of strips through the top corners of the tile section, just below the base. Each tile should overlap the base section of the preceding bit of strip.
Using Adhesive
If you live in a very windy area, you can also combine adhesive with nails. Simply use adhesive on every strip just before applying the strips. Nail them afterwards in order to form an extremely strong fix.
Once you have completed your project, give yourself a pat on the back. You’ve just successfully put up a felt shingle roof.


