
 OB1 Diamond Crystal Clear Universal Sealant & Adhesive 290ml
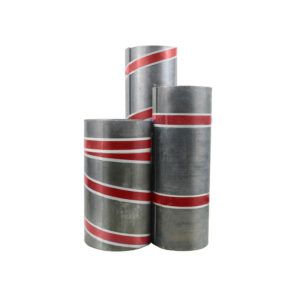
  Code 7 Cast Lead - 1000mm x 3m
  Bond It Bitumen Paint - Black 5L
  Samac Aluminium Clout Nails - 55mm x 3.35mm (1kg)
  Cromar Bitumen Trowel Mastic - Black 2.5L
  Soudafoam Gap Filler Gun Grade – 750ml (Box of 12)
  ALM Code 8 Milled Lead - 390mm x 6m
  Everbuild XT44 Maintenance Spray - 400ml
  Everbuild Everflex Fire Mate Intumescent Sealant – 295ml
  Code 8 Cast Lead - 360mm x 3m
  Everbuild Lumberjack 30 Minute PU Wood Adhesive Gel - 310ml (Box of 12)
 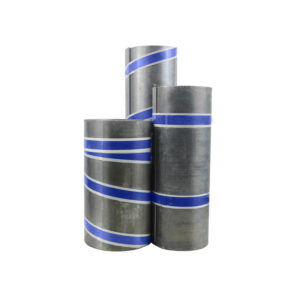 ALM Code 4 Milled Lead - 850mm x 6m
 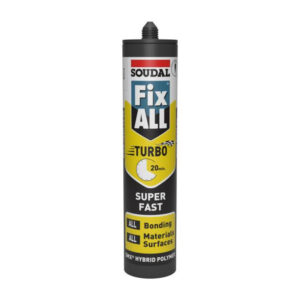 Soudal Fix ALL Turbo - White 290ml
 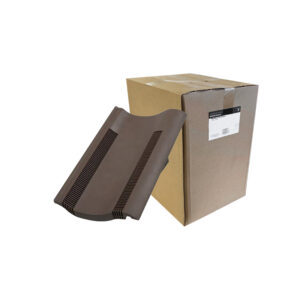 Hambleside Danelaw Single Pantile Roof Tile Vent, TV10/8 - Brown (Box of 5)
  FloPlast Round 92½° Bend - White
 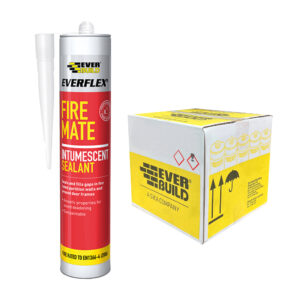 Everbuild Everflex Fire Mate Intumescent Sealant – 295ml (Box of 25)
 Flashing Tape
Best Sellers
-
Sika Sanisil Sanitary Silicone, Clear – 300ml (Box of 12)
£56.28 Incl VAT £46.90 Excl VAT Read more -
Everbuild Stainblock – White 400ml
£8.99 Incl VAT £7.49 Excl VAT Add to basket -
ALM Code 7 Milled Lead – 600mm x 6m
£365.33 Incl VAT £304.44 Excl VAT Add to basket -
Youngman Spacemaker Loft Ladder (30234000)
£100.50 Incl VAT £83.75 Excl VAT Add to basket -
ALM Code 5 Milled Lead – 1200mm x 6m
£518.26 Incl VAT £431.88 Excl VAT Add to basket -
Soudal Solvent-Free Trade Grab Adhesive – White 290ml
£2.99 Incl VAT £2.49 Excl VAT Add to basket
Flashing Tape
Roofing flashing tape, also known as flashband or lead flashing tape, is one of many ways to protect, repair, and watertight seal something permanently. Due to its heat resistance and ability to provide an immediate watertight seal on an enormous variety of surfaces, it is an essential part of any roofing project. In addition, it comes in multiple sizes to suit your roof needs.
Among our range, we have the excellent Cromar Flashing Tape, Bostik Flashing Tape and Everbuild’s flashing trade tape.
How To Apply Flashing Tape the Correct Way
To help out, here is a short guide on how to apply flashing tape.
Cut the Flashing Strip to the length required. To avoid any creasing, remove approximately 50mm of backing paper and carefully position the sealing strip. Hold the backing paper firmly and release it steadily from the sealing strip as the product is applied.
Smooth into position using hand pressure. Use a seam roller or rounded wood smooth to ensure good contact and expel any air, especially on overlaps and at the edges. When laying adjacent rolls, Flashing Strip should be overlapped by a minimum of 25mm for a watertight seal.
The seam must be pressed firmly with a hand roller paying particular attention at the point of overlap. Remember, if applying this in cold weather (5-15 Celsius), storing the flashing tape in a warm place is highly recommended before use. If possible, it is also suggested to warm up the surface slightly.