
Everbuild’s Stixall Adhesive is extremely popular for its strong bond and versatility. But in order to get the most out of it, it’s important to understand how exactly to apply it.
You will need:
- Safety Gloves and goggles
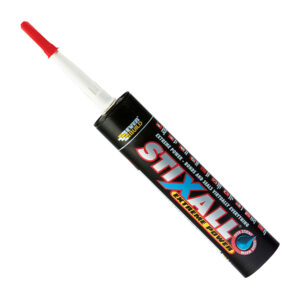
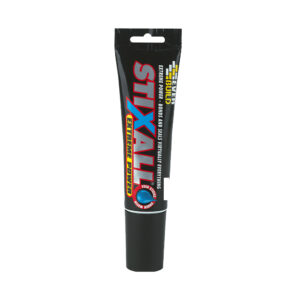
- Stixall (in either squeeze pack format or cartridge format)
- Sealant gun (if using cartridge format)
- Workman’s Scissors or Utility Knife
- Cleaning Cloth
- White spirits
Application Process
Before doing any sort of application of Stixall, you should make sure that the surface you are going to apply it to is free of any grime, detritus or moss.
Now you should prepare your adhesive. You should use your scissors to cut the tip of the cartridge if you are using a sealant gun. Then load it into the cartridge, and make sure to cut an opening in the nozzle as well, suited to the amount of sealant you will want to apply in a single line. For the squeeze pack, simply remove the cap and cut the nozzle.
Depending on the weight of the object you can apply the Stixall in one of two ways. For heavier objects you can apply several layers of beads on the back that is going to be adhered, then a single continuous bead around the edge of the back. You will need to compress the heavy object in place while the sealant cures.
For lighter objects, you should leave either a single or a double bead in a line around the back of the object, then hold it in place till it dries like with the heavy object.
You can use white spirits and cloth to remove any excess spillover from the Stixall. Do not use it to secure things from the ceiling unless it has also been fixed in place. Some paints may not work with Stixall, and it should not be used outside. Check Stixall to make sure that it can be used with the materials and surfaces you are working with.


