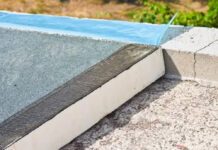
The fascia refers to the boarding that goes beneath the eaves of a house. Along with the soffit below it, the fascia protects the eaves from the ingress of water, insects and small animals. In addition, the fascia can also support the guttering of a house if fascia brackets are added. This article will explain how to install fascia brackets on your fascia.
While you won’t need to go up on the roof itself, if you’re not confident working on a ladder you might want to get trusted professionals to do this task instead of you. If you do decide to go on the ladder by yourself, getting an assistant to help keep it steady and hand you things is recommended.
You will need:
- Safety gloves and safety goggles
- Roofing Ladder
- Cordless Power Drill (with bit for fixings)
- Appropriate Fascia Brackets (see below)
- Fixings (see below)
- Tape measure
Remember to buy appropriate fascia brackets for your guttering. Fascia brackets can come in three different profiles for different types of guttering – square line, half round, and ogee. Ogee profiles can vary slightly so be careful.
For most fascia brackets you will need one for every 1 metre of your eaves. For ogee gutters you will need one for every 800mm on average. Be sure to check the instruction manual for your specific manufacturer to find out how much support your gutter needs.
When it comes to your fixings, again it varies by manufacturer but generally 5x25mm fixings are preferred. Since the fixings are external, you should aim at the very least for zinc coatings if not stainless steel to make sure they are protected from rust. You can use countersunk screws, but you should go for a more complex head than Phillips, at the least Pozidriv. You don’t want to have to worry about “camming out” at ladder height.
Installing the Fascia Brackets
The first thing you need to do is identify the fall. This, again, can vary by manufacturer, but for many it’s a fall of 1.350 according to a standard spirit level. This fall will make sure that the water will trickle along the way towards the drain. Line the bracket up against the fascia on the same side of the house as the drain but as far away as possible, then drill through the holes without moving it, then begin screwing the screws in.
You should attach a plumb line to the drain outlet, then tie the other end to your bracket, and use the spirit level to check the fall of the line. If it is correct, then you can begin installing the rest of the brackets.
Space all the brackets equally apart as per standards – so if they are supposed to be 1m apart, space them by that much instead of bunching a lot of them up. The idea is for the entire guttering to be supported so that individual areas do not sag.
Continue going around the fascia until the brackets are all in place. It’s a simple process but deserves your full attention. If you accidentally drop a bracket after drilling one but not all of the holes, simply place it so it is over the holes and lined up, then finish it off. After you have done all of your brackets your fascia is ready to bear the weight of the guttering now. You might even want to invest in hedgehog gutter brushes at some point.

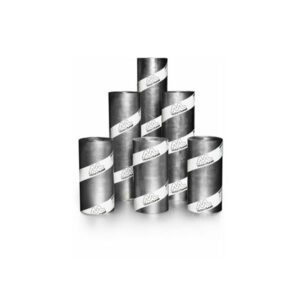 Code 7 Cast Lead - 360mm x 6m
  Code 5 Cast Lead - 390mm x 3m
 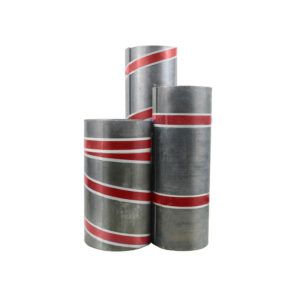 ALM Code 5 Milled Lead - 390mm x 6m
 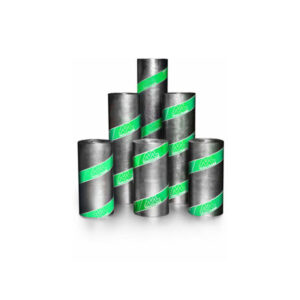 Code 3 Cast Lead - 300mm x 6m
 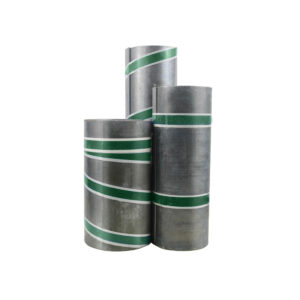 ALM Code 3 Milled Lead - 760mm x 6m