Installing the felt on a shed roof or replacing the felt on an existing roof is one of the more straightforward roofing-related projects you can embark on. If you’re a DIYer wanting to dip your toes in, this is a great place to start and find out how to feel a shed roof. This can include installing felt on a newly built shed or re-felting an old shed roof.
What you will need
Felt
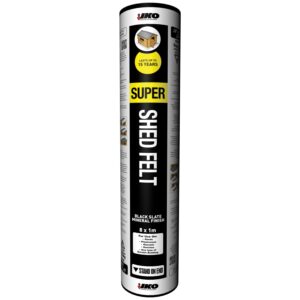
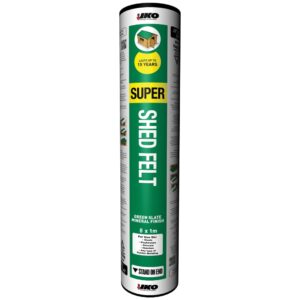
Shed felt is made of a combination of bitumen and fibres. The bitumen provides the waterproofing, while the fibres provide the strength. Shed felt is essentially a tougher variation of the roofing felt that lies beneath most tiled pitched roofs. You can even get shed felt with shingle patterns if you’re going for a particular look for your shed.
Nails
Shed felt tends to merit specially designed shed felt nails. These are short and squat with a large, flat head that holds the felt in place. They are almost always made of waterproof galvanised steel.
In terms of numbers, you want enough nails for them to be spaced apart by 100mm at the apex of the roof and along the gable side, and 300mm apart at the verge side.
A hammer
A hammer with a hard head for driving in shed felt nails. If you’re re-felting an old shed you’ll want a claw hammer to extract the previous shed felt nails as well.
Fascia boards
These wooden boards help secure the roof, and are attached around every side, both gable and verge. For a skillion roof you will need either three or four boards, depending on whether it shares a side with a house.
Safety Equipment
Splinters and shards of wood are a threat especially on old roofs. A slip with a hammer blow can also be a danger. It’s best to wear protective gloves and eyewear.
Felting a Pent Roof or Skillion Roof
A pent roof, also known as a skillion roof is a roof with only one slope. This is particularly popular with sheds that lean against a house. Felting pent roofs is very simple. The felt must be measured so that it has some overhang – this will allow it to be secured to the side of the roof. You usually want at least 50mm of overhang on the verge and 75mm on the gables for the best results.
It is possible to felt the roof in one piece if you can get a single piece of felt big enough. If you need multiple pieces, leave 300mm of overlap and nail over this seam in addition to the normal nailing spots, spacing the nails apart by 100mm. Always have the higher piece of felt over the lower piece, so water is less likely to enter the seam.
The felt is pulled tight over the roof and then nailed in. You want to start at the apex of the roof. Then do the verge, and then the gable side. Finally, fascia boards should be attached around the sides to secure the felt.
Felting an Apex or Double Sloped Roof
These are more traditional pitched roofs. Rather than a one piece felting, like the pent roof, these roofs require three pieces – left, right, and a ridge piece. The ridge section should overlap the left and right piece by at least 300mm on both sides. The left and right sections should be placed first, then the ridge piece should be placed over them. Then the ridge piece should be nailed in place, with the shed nails being placed in the overlap to secure the side sections as well.
Finally, the gables and verges should be fixed as per the pet roof. Don’t forget to install your fascia boards on every side!
Re-felting an old roof
You’ll need to remove what’s left of the previous felt before you can start refelting. The old fascia boards should be removed, followed by the old felt. A claw of a claw hammer can be used to pry up the old nails. Investigate the timber of the roof itself closely for signs of rot. It may be necessary to replace it; there’s no point in re-felting rotten wood. After this, the roof can be measured and the installation of the new felt can take place as per the previous methods, depending on whether it is a pent roof or a double sloped roof. Alternatively, you may want to use a roof sealant to fix any small holes for time and cost-efficiency.
How to Felt a Shed Roof without Nails
Many people ask, can you felt a shed roof without adhesive? Well, what about nails? You may want to try to attach the felt without nails. This might be for aesthetic reasons or simply to avoid any joins. A strong felt adhesive can hold roofing felt to a shed roof without the need for nails.
Use the original equipment list. However, you will not need the nails or claw hammer but you will need felt adhesive such as Cromar or Everbuild Black Jack Felt Adhesive as well as a disposable paintbrush and a scraper. Never use a high quality brush with adhesives since it will likely be unusable afterwards. Cut the felt to measure as with the normal method.
The disposable paintbrush should be used to apply the felt adhesive over the entire surface area including the sides and overhang of the roof. Then the felt should be attached. Make sure it is in the right place before fixing it in place. You should use the scraper to smooth out the felt. Begin in the centre and spread out so you can eliminate any air bubbles. Remember to make sure the overhang is adhered as well.
If you are doing a skillion shed roof you will only have a single piece. A double sloped roof will have three pieces as with the standard nailed configuration. Simply wait for the adhesive to dry on the already attached pieces. Then, apply some more adhesive, this time on part of the left and right pieces themselves, so that it covers 300mm away from the ridge. Finally, fit the ridge piece and smooth it out as you did with the first two pieces.


